It's been a really long time since I've blogged about anything going on in our lives. I hate how life can seem so busy. When I stop and think about it, though, I realize how blessed I am, how simple my life really is, and how I can clutter my mind and my every day goings-on with things that really don't matter.
Well, today it is a beautiful Spring Sunday and we are about to go spend some time with family, so I am making Ice Cream Sandwiches. (Yes, I capitalized that. I don't think you understand how much I love Ice Cream Sandwiches! :)
About a week or so ago I picked up an inexpensive ice cream maker. It sat around in it's box taking up space in my dining room, so yesterday I decided to make it feel useful. I went out and bought all of the whipping cream, half and half, rock salt, etc... and Brach's Starbright peppermints. My mom use to make peppermint ice cream with Brach's Starbright mints when I was growing up, and it was one of my favorites. So, it was the very first ice cream I wanted to try my hand at. (another time I will make a post about making ice cream... I lost my head yesterday and forgot to get out my camera while I was making it)
I made the smallest batch of ice cream that the recipe suggested. It still made
quite a bit. Too much. So today I decided to take that peppermint ice cream and give it a new home... inside two chocolatey cookies... where it belongs... where it would feel loved.
Since I had such a huge batch of ice cream to work with, and since I have a lot of cousins to visit with today, I made a double batch of the cookie batter.
I found the recipe on Pinterest. The link led me to the
Instructables site which has a ton of great how-to's. You can find the original recipe
here. This is such an easy recipe you may never feel the need to buy your Ice Cream Sandwiches again... especially after tasting them! These Ice Cream Sandwiches are so unbelievably good.
The first step is to take your ice cream out to soften. Be sure you are keeping track of your time here because you don't want it too melty. After putting these together I decided since the ice cream was homemade it was probably soft enough to spread straight out of the freezer. After I let it soften some, it seemed a little too melty. Next time I will probably just take straight from the freezer and spread it out.
The next step calls for melting the butter.
I chose to melt mine in a pot, because sometimes I feel it is against my ethics to use a microwave. (I did microwave my leftovers for lunch, though, so I guess this ethical mood only strikes so often. I say often that I lack the strength of my conviction... case and point)
While the butter was melting I added the sugar to a bowl and prepared the pan with parchment paper.
 |
| I used Reynolds parchment/foil. It works really well because you can fold the edges around the pan and they will keep shape. |
Once the butter melted, I added it to the bowl with the sugar, and then added one egg.
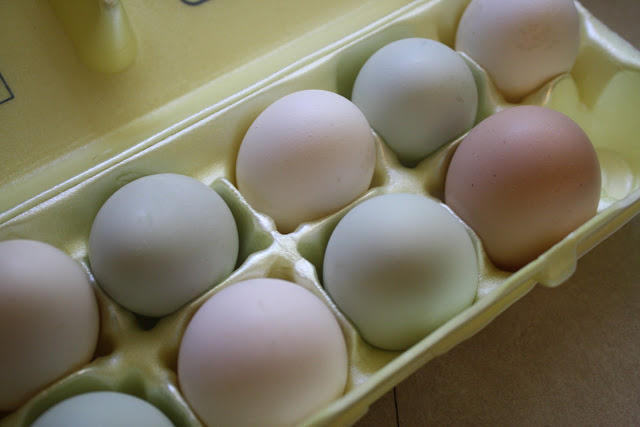
**Let me take this moment to ask you to look at how beautiful these eggs are! I bought them last week from someone who lives nearby. If you have a local source for eggs, please start buying them! They are the most beautiful things, and they taste so much better than store-bought eggs. If you must buy from a grocer, try to purchase free range eggs. You will notice a huge difference in color and taste.**
I added flour...
...whisk...
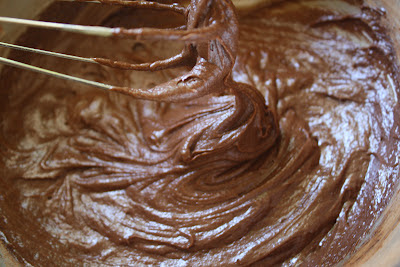
...and then cocoa powder...
...whisk...
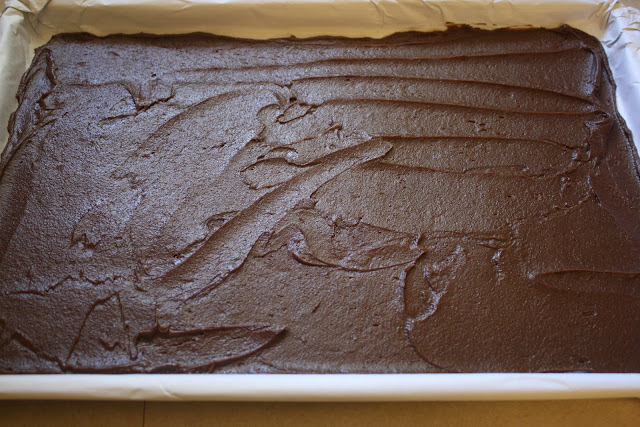
After all of the ingredients were combined, I used an off-set spatula to spread the batter onto the parchment-prepared pan. It's difficult to tell if the batter is spread evenly or not, but mine seemed to come out fine anyway.
 |
| It seemed to be the easiest way to add the batter in dollops around the pan, and then spread. |
 |
| Using an off-set spatula really helped this job. |
The batter was so nice and chocolatey. I'm so glad I chose this recipe as my first test for Ice Cream Sandwiches. There are a couple other recipes I found that I want to try, but this one didn't require chilling the dough before using it, and this one also didn't require cutting out the dough and baking like cookies.
Once the cookie/cake part has come out of the oven and cooled, the recipes called for cutting it in half and adding the ice cream to one side and topping with the other half. I made a double batch of cookie, so I took the entire cookie out of the pan by lifting the parchment from the pan and transferring it to a cooling rack, and left the entire thing whole.
I cooled the pan in the freezer really quickly, and lined it with saran wrap. I placed the first cookie in the bottom of the pan, right side down. Then plopped the ice cream on the cookie, spreading here and there, then topped it with the second cookie. I pulled the saran up around the sides to try to help form them, and keep the ice cream inside.
They went immediately into the freezer until they were firm.
They turned out so wonderfully with the peppermint ice cream. They were a hit with the family!
And just a note: If you, for whatever reason, decide on a really hot day to take your Ice Cream Sandwiches in the car with you someplace, no matter how hard you try, and no matter if you try to cool your car off before you get in with your Ice Cream Sandwiches, they will more than likely turn out like this...
But they will still taste really good!


